If you’re managing dozens of Windows machines across different locations and are tired of the speed caps, exorbitant fees, and device limits of commercial remote desktop software like TeamViewer or AnyDesk, then the open-source MeshCentral is your ultimate solution.
MeshCentral is a powerful Remote Monitoring and Management (RMM) system. By installing a lightweight agent on your target machines, you get a centralized web dashboard that lets you perform remote desktop control, execute background shell commands (CMD/PowerShell), and manage files seamlessly.
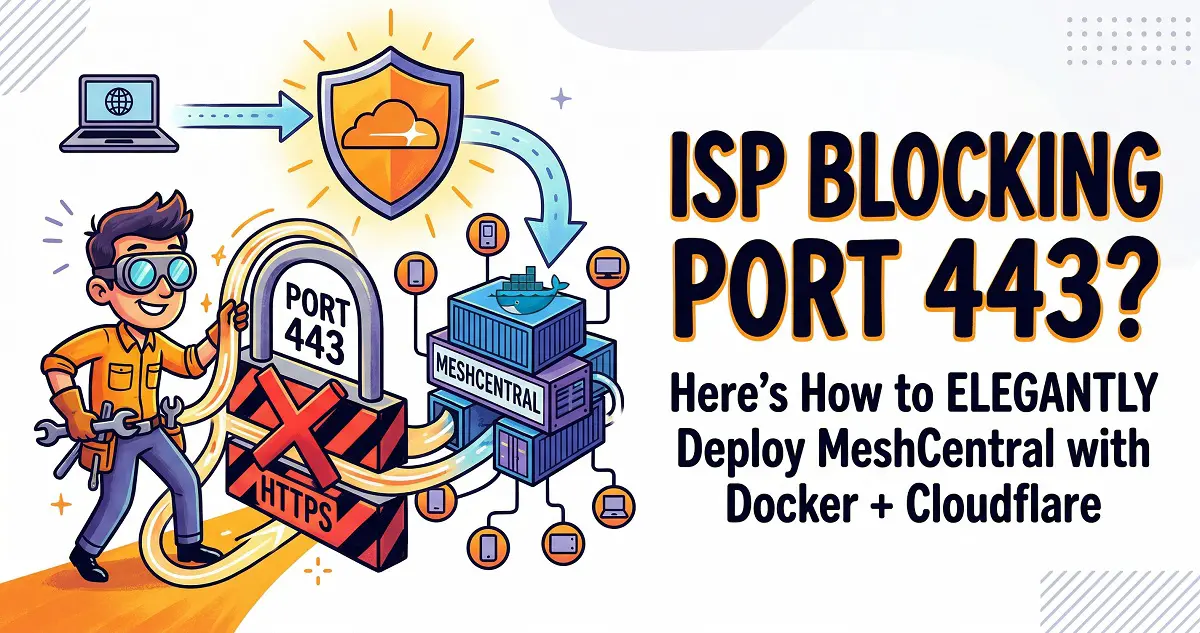
However, for HomeLab enthusiasts, we often face two major hurdles: 1. No static public IP; 2. ISPs blocking the standard 443 HTTPS port. In this guide, I’ll walk you through how to use Docker (with an iStoreOS/DPanel environment), Cloudflare DDNS, and a custom port (8443) to bypass these network restrictions and build your very own private remote control hub.

Prerequisites
Before we begin, ensure you have the following:
- A local server running Docker (e.g., iStoreOS, OpenWrt, or a Synology NAS).
- Your own domain name (we’ll use
mc.yourdomain.comas an example). - Your domain managed on Cloudflare and linked to your home public IP via DDNS.
Step 1: Write the Docker Compose Configuration
We’ll use the official images. A major pitfall here: Many low-power CPUs (like the J1900) do not support the AVX instruction set, causing newer MongoDB versions to crash in a restart loop. The perfect fix is to pin the version to mongo:4.4.
In your Docker dashboard (like DPanel or Portainer) or via the CLI, create a docker-compose.yml file:
YAML
services:
  mongodb:
    image: mongo:4.4    # Bypass MongoDB 5.0+ AVX instruction set requirements, highly stable
    container_name: meshcentral-db
    restart: always
    volumes:
      - ./mesh_db:/data/db

  meshcentral:
    image: ghcr.io/ylianst/meshcentral:latest
    container_name: meshcentral
    restart: always
    depends_on:
      - mongodb
    ports:
      - "4430:443"      # Map container port 443 to host port 4430
    environment:
      - HOSTNAME=mc.yourdomain.com  # [Required] Replace with your actual domain
      - REVERSE_PROXY=true          # Enable reverse proxy support
      - REVERSE_PROXY_TLS_PORT=8443 # [Critical] Specify external access port 8443
      - IFRAME=false
      - ALLOW_NEW_ACCOUNTS=true     # Allow registration; disable after first login
      - WEBRTC=true                 # Enable WebRTC for smoother remote control
      - USE_MONGODB=mongodb://mongodb:27017/meshcentral
    volumes:
      - ./mesh_data:/opt/meshcentral/meshcentral-data
      - ./mesh_files:/opt/meshcentral/meshcentral-files
      - ./mesh_backups:/opt/meshcentral/meshcentral-backups
Once verified, deploy the stack.
Step 2: Cloudflare and Router Port Forwarding
Since port 443 is blocked, we will use port 8443 for HTTPS traffic via Cloudflare.
1. Cloudflare Configuration
- Log into Cloudflare, ensure the A record for
mc.yourdomain.compoints to your public IP, and make sure the Proxy status is enabled (the orange cloud icon). - Fixing 526 Errors: Go to SSL/TLS -> Overview and set the encryption mode to “Full”. (Note: Do not use “Full (Strict),” as our Docker instance uses a self-signed certificate, which will cause Cloudflare to trigger a 526 SSL handshake error).

2. Router Port Forwarding
Navigate to your router’s firewall settings and add a port forwarding rule:
- External Port:
8443 - Internal IP: The local IP of your machine running Docker
- Internal Port:
4430 - NAT Loopback: Enable this to ensure you can access the domain from within your local network.
Step 3: Fix the “Invalid origin in HTTP request” WebSocket Error

If you visit https://mc.yourdomain.com:8443 now, you’ll likely see the blue MeshCentral login screen. However, trying to log in will probably result in an Invalid origin in HTTP request error.
This is due to MeshCentral’s strict security. It detects the traffic coming from Cloudflare and realizes the port headers mismatch. We need to tweak the core configuration:
- Navigate to your
./mesh_datadirectory and editconfig.json. - Locate the
"settings"and"domains"blocks and modify them as follows:
JSON
{
  "$schema": "https://raw.githubusercontent.com/Ylianst/MeshCentral/master/meshcentral-config-schema.json",
  "settings": {
    "ignoreWebsocketOrigin": true,    // Force ignore origin port validation
    "trustedProxy": "Cloudflare",     // Trust Cloudflare proxy headers
    "aliasPort": 8443,                // Define external port
    "cert": "mc.yourdomain.com",      // [Critical] Update to your actual domain
    "port": 443,
    "WebRTC": true,                   // Ensure WebRTC is enabled
    // ... other settings remain default ...
  },
  "domains": {
    "": {
      "certUrl": "https://mc.yourdomain.com:8443",  // [Critical] Force bind the full external URL with port
      "NewAccounts": true,
      // ... other settings remain default ...
    }
  }
}After saving, restart the MeshCentral container. Press Ctrl+F5 to force refresh the page, and you’ll have full access to your own private remote control hub!
Step 4: Installing the Windows Agent (Preventing Deletion)
Once logged in, create a device group, click “Add Agent,” and download the Windows .exe.

⚠️ Pitfall Warning: Because the agent has system-level control privileges and is dynamically generated by your server, Windows Defender or third-party AV may flag it as a Trojan and delete it immediately.
Correct Installation Procedure:
- Temporarily disable “Real-time protection” in Windows Security.
- Redownload the Agent, right-click and “Run as Administrator”, then click Install.
- Whitelist it: Immediately add the
C:\Program Files\Mesh Agentdirectory to the Windows Security exclusions list. - Re-enable Real-time protection.
Back in your web dashboard, the Windows machine will show up as online and ready for action!
Closing Notes on Security
After you’ve successfully set everything up, you must set ALLOW_NEW_ACCOUNTS to false in your Docker env or config.json and restart the container. This prevents unauthorized users from registering an account on your server.
This setup balances privacy, performance, and zero-cost operation. It’s the ultimate tool for both professional IT maintenance and tech enthusiasts managing multiple machines.
Frequently Asked Questions (FAQ)
Q1: Why choose MeshCentral over Windows RDP?
A: RDP is great for exclusive remote desktop sessions, but it locks the physical screen. MeshCentral excels at “Centralized Silent Management.” It can penetrate complex NAT, manage dozens of devices simultaneously, and allow silent file transfers or script execution without interrupting the local user, making it ideal for technical support.
Q2: Is exposing the control panel to the internet safe?
A: Yes, if configured correctly. Cloudflare proxies hide your home IP, defending against port scans and DDoS. Always set ALLOW_NEW_ACCOUNTS to false after initial setup. For enterprise-grade security, definitely enable 2FA in your account settings using an app like Google Authenticator.
Q3: Why is my remote desktop session laggy?
A: Check if WebRTC is active. If the interface displays WebRTC, you have a direct connection. If it shows WebSocket, your traffic is being relayed via the server. Performance in relay mode depends heavily on your home server’s upload bandwidth and Cloudflare’s node connectivity.