When it comes to creating short-form videos, the real energy-drainer isn’t the editing—it’s the endless grunt work: scriptwriting, sourcing visuals, generating voiceovers, and syncing captions.
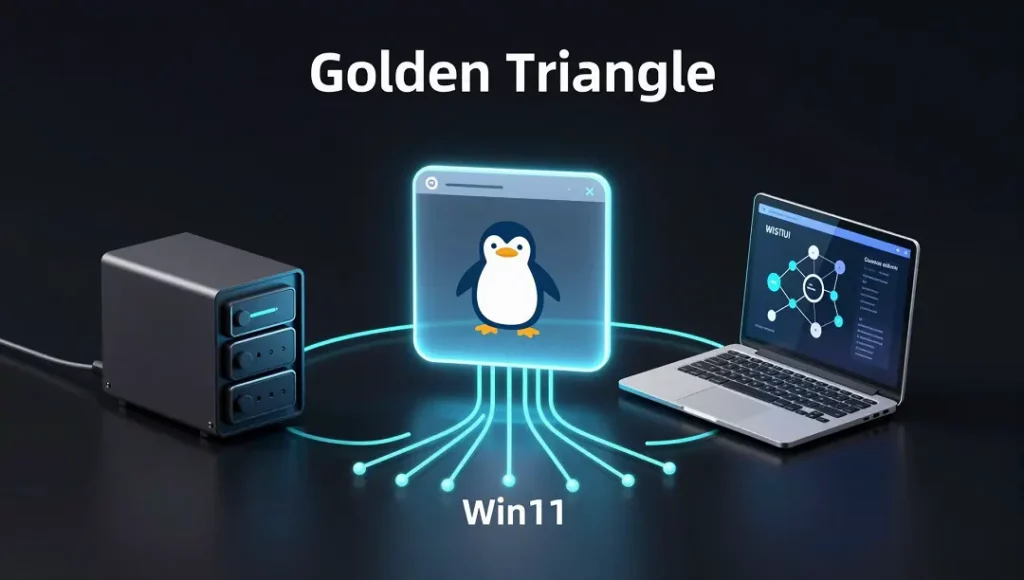
Today, we’re flipping the script with some serious tech. This tutorial will walk you through setting up a cross-device workflow bridging Linux (the OpenClaw brain) + Win11 (the ComfyUI muscle) + NAS (the central repository).
Once configured, you simply feed an article into your terminal, and the system automatically handles: rewriting it into a multi-platform video script $
ightarrow$ extracting image prompts $
ightarrow$ triggering your local GPU to batch-generate 9:16 vertical images $
ightarrow$ creating voiceovers with time-coded captions $
ightarrow$ outputting tailored social media copy for Xiaohongshu/Bilibili, all organized neatly on your NAS. Your only job? Drag the files into CapCut and “wrap the dumpling.”
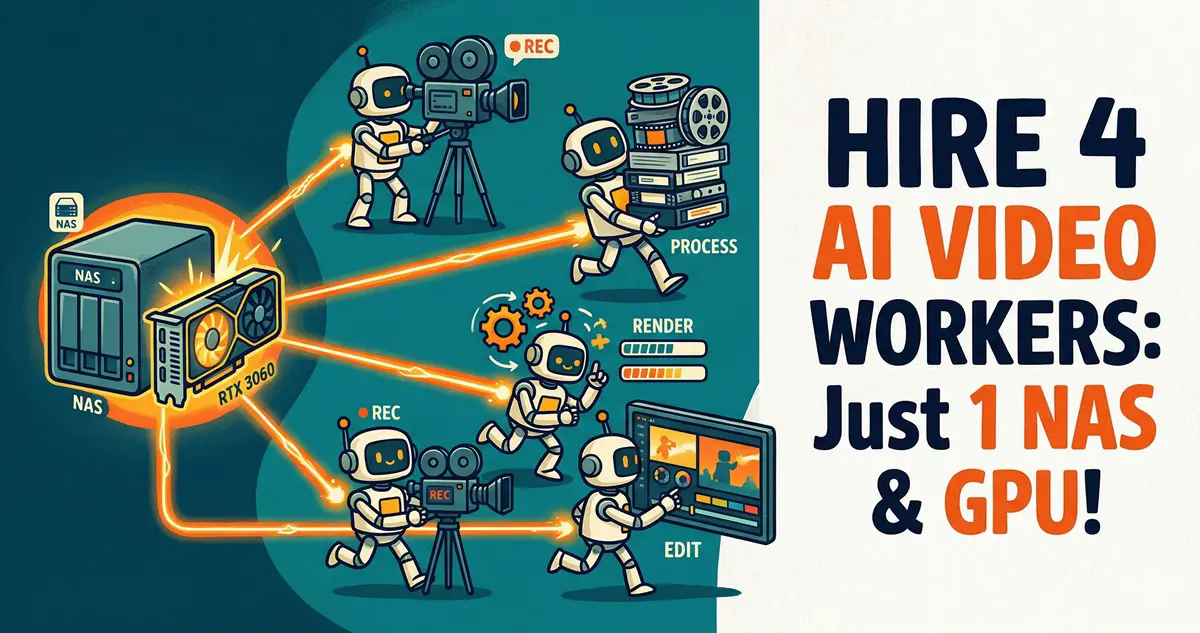
🏗️ Architecture & Core Strategy
- Orchestration: A Linux server running OpenClaw (handles task distribution and Bash execution).
- Image Generation Node: A local Win11 PC with an RTX 3060 12G running ComfyUI.
- Central Storage: A NAS mounted across both machines for near-instant file transfers.
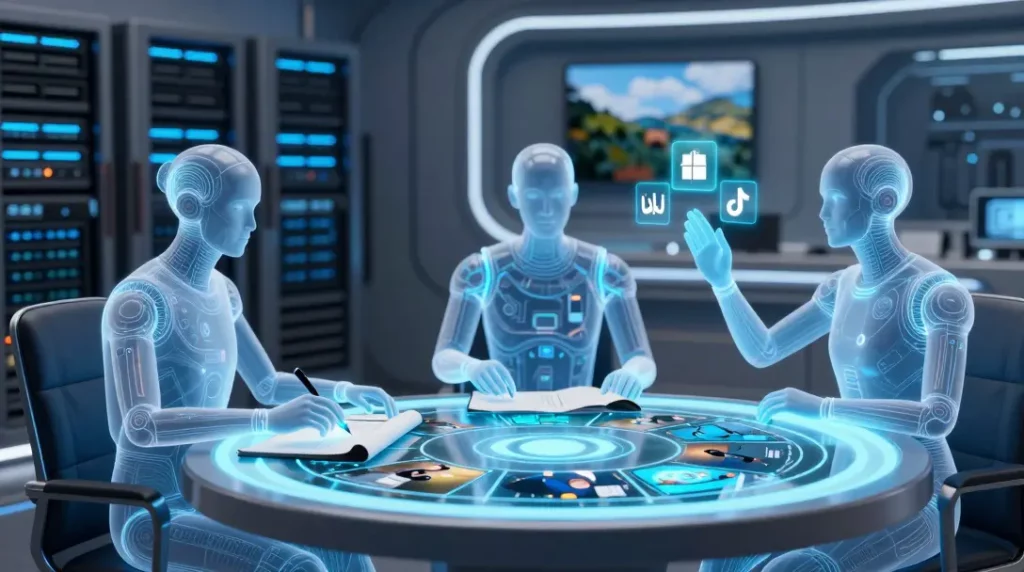
Step 1: Building the OpenClaw Multi-Agent Board
A single AI model won’t handle a complex job like this. We need to define four specialized Agents within OpenClaw.
1. Creating the Agents
Run these commands in your Linux terminal to build the team:
Bash
openclaw agents add scriptwriter
openclaw agents add visual-director
openclaw agents add publisher
2. Model Configuration & Troubleshooting
⚠️ Troubleshooting: You’ll likely hit two common roadblocks:
HTTP 404 (model_not_found): Usually happens when relying on unstable, free large-parameter model endpoints.API rate limit reached: Occurs when the master Agent tries to break down long text too quickly.
Geek Tip: Configure fast, high-concurrency models in openclaw.json. For script rewriting, I recommend moonshot-v1-256k (Kimi) or deepseek-chat for that authentic, engaging Chinese tone. For routing/orchestration, Gemini is rock solid.
(Note: When configuring Gemini, ensure the provider is set to google, not google-genai, and set the model ID to gemini-3.0-flash-latest.)
3. Injecting Soul (System Prompts)
Go to the OpenClaw web UI (or edit ~/.openclaw/agents/*/identity.md) to inject strict workflow constraints:
main(Boss/SOP): Hardcode the execution order at the end of your prompt: “On trigger: 1. Create a project folder on the NAS. 2. Dispatch@scriptwriterto savepure_voice.txt. 3. Dispatch@visual-directorto createprompts-list.json. 4. Runedge-tts. 5. Triggerpython3 batch_run.py. 6. Dispatch@publisherto create marketing collateral.”@scriptwriter: Program it for persona switching. Set it to determine if the post is a ‘tech deep dive’ (humorous/sarcastic) or an ’emotional story’ (empathetic/warm), and tag visual cues like[Visual: xxx].@visual-director: Ensure it adapts to the content type—using keywords like ‘Cyberpunk’ or ‘8k’ for tech, or ‘Cinematic lighting’/’film grain’ for stories. Output a JSON containing 10-15 shots.@publisher: Task it with generating viral Xiaohongshu copy with emojis, click-worthy Bilibili titles, and 10 relevant SEO hashtags saved aspublish_kit.md.
Step 2: Connecting the ComfyUI Local GPU Pipeline
We’ll use a Python script on the Linux server to control the ComfyUI instance on your Win11 machine remotely.
1. Exporting API JSON & Mapping Nodes
Dial in your ComfyUI workflow, then click Save (API Format) to generate z_turbo_api.json. Identify the IDs for these two nodes:
- CLIPTextEncode (Positive Prompt): Find the ID (e.g.,
"45"). - SaveImage: Find the ID (e.g.,
"9").
2. Writing the Batch Trigger Script
Create batch_run.py on your Linux server to cycle through your prompt list:
Python
import json
import urllib.request
import time
import sys
import os

list_path = sys.argv[1]
project_dir_name = os.path.basename(os.path.dirname(list_path))
comfyui_url = "http://192.168.100.8:8000/prompt"

with open(list_path, 'r', encoding='utf-8') as f:
    prompts_data = json.load(f)
with open('/home/hhdz/comfy_api/z_turbo_api.json', 'r', encoding='utf-8') as f:
    workflow = json.load(f)

for shot in prompts_data.get("shots", []):
    # Inject Prompt (Node 45)
    workflow["45"]["inputs"]["text"] = shot["prompt"]
    # Inject Filename (Node 9)
    workflow["9"]["inputs"]["filename_prefix"] = f"nas_mount/{project_dir_name}/Shot_{shot['id']}"

    p = {"prompt": workflow}
    req = urllib.request.Request(comfyui_url, data=json.dumps(p).encode('utf-8'))
    urllib.request.urlopen(req)
    time.sleep(0.5)
⚠️ The Resolution Trap: Don’t try to upscale everything to 1080×1920 immediately, or you’ll hit OOM errors on your 12G VRAM. Use 768 x 1344—it’s the sweet spot for 9:16 content on mid-range hardware.
Step 3: Zero-Cost “Human-like Voice + Millisecond Subtitles”
Forget heavy local deployments—just leverage Microsoft Edge-TTS.
⚠️ Troubleshooting: If you get an externally-managed-environment error on Debian/Linux, avoid system-wide pip installs. Use pipx:
Bash
sudo apt install pipx
pipx ensurepath
pipx install edge-tts
Then, add this to your Boss SOP:
Bash
edge-tts --voice zh-CN-YunxiNeural --file pure_voice.txt --write-media final_audio.mp3 --write-subtitles final_subtitles.vtt
You get high-quality audio and a millisecond-accurate .vtt file that drops perfectly into your editor.

Step 4: Spatial Jump: Breaking ComfyUI Storage Limits
ComfyUI likes to dump files into its local Win11 directory. We need a way to redirect that to the NAS.
Geek Tip: Windows Directory Junction (Soft Links)
In CMD as Administrator:
DOS
cd /d D:\ComfyUI\output
mklink /D nas_mount "\\192.168.100.6\YourNASShare"
Now, when you point your path to nas_mount/project_name/, the images land directly on your NAS in real-time.
🚀 Ignition
“Launch production! Content: [Paste your article]”
In the time it takes to brew a coffee, you’ll have everything needed to finalize your project. Drag it into your editor, add some Ken Burns-style movement, and enjoy your new cyber-factory.
💡 FAQ
Q1: I don’t have an RTX 3060; can I still do this?
A: Absolutely. If your local hardware isn’t enough, just tweak the Python script to call cloud APIs (like Aliyun or Zhipu). The OpenClaw orchestration remains the same.
Q2: How much does this cost?
A: Essentially zero. The local generation is free, and most LLM APIs are extremely cheap (pennies per article).
Q3: Can I generate dynamic AI videos instead of static shots?
A: Yes, just swap the JSON workflow to something like LTX-2. However, I suggest mixing them: static shots for the ‘meat’ of the video and dynamic ones for the intro/outro to save time and compute.