
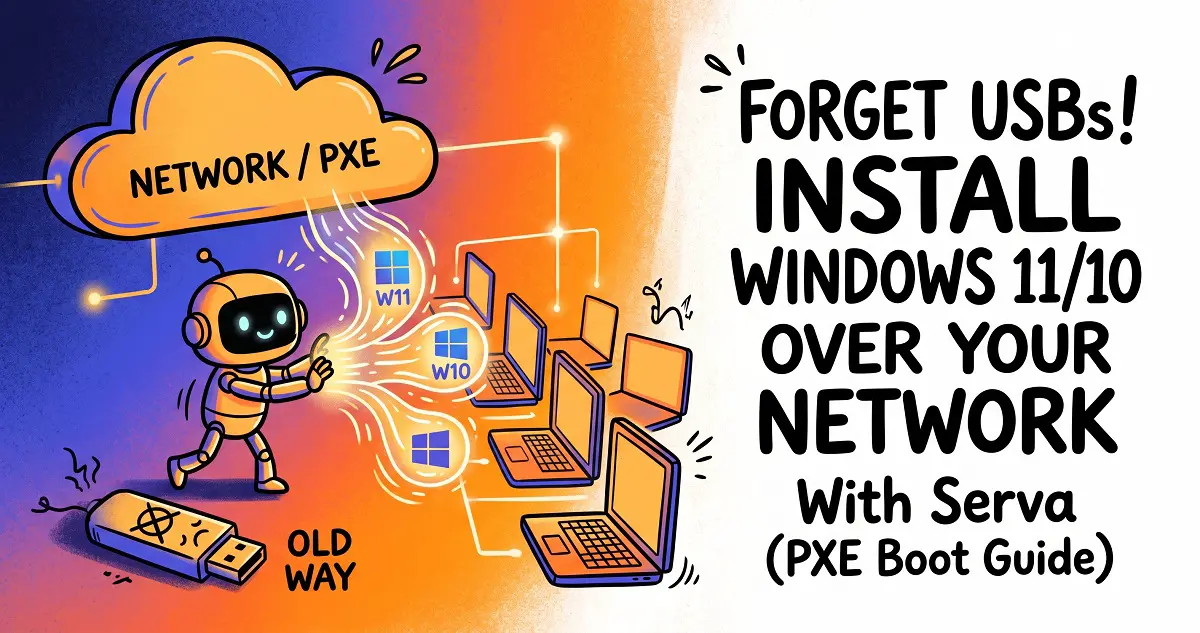
Ever found yourself in a bind, needing to reinstall Windows 11 or Windows 10 but realizing you’re out of USB drives, or worse, your computer’s USB ports are kaput? Don’t sweat it! Today, I’m going to walk you through a seriously cool, completely USB-free method that lets you install Windows with just a network cable and two computers.
This technique is an absolute lifesaver if you’re dealing with:
- Failed or non-functional USB ports
- No available USB flash drive for creating bootable media
- The desire for rapid system deployment over a local network
I’ll guide you step-by-step through the entire process, ensuring every instruction is crystal clear so you can follow along without a hitch.
1. The Core Concept Behind This Method
The magic happens by designating one functional Windows PC as our server (let’s call it Host A) and the computer needing a fresh OS install as the target machine (Host B). We’ll connect these two directly with a single Ethernet cable and then leverage a fantastic free tool called Serva to quickly set up a PXE Network Boot Server.
In simple terms, Host A acts like a temporary, dedicated “install server” for your local network. Host B will then boot up and “download” the Windows installation files directly from Host A via the network cable. This approach is incredibly stable and lightning-fast.
2. What You’ll Need: The Preparation Checklist
- Two Computers: One running Windows (your server, Host A), and the other awaiting a fresh installation (your target machine, Host B).
- One Ethernet Cable (a direct connection is all you need, no router required!).
- Official Windows 10 / Windows 11 ISO files.
- Serva Community Edition (it’s free!).
Download Serva (Official Community Free Edition): 👉 Get Serva Community v5.0.0 here

Official Windows ISO Downloads:
Important Note: We highly recommend using official ISO files throughout this process and activating Windows with a genuine product key.
3. Server-Side Configuration (Host A) – The Most Crucial Steps
3.1. Set a Static IP Address
- Connect both ends of the Ethernet cable to the network ports on your two computers.
- On Host A, right-click the Start Menu → Network Connections.
- Locate your Ethernet adapter → Right-click → Properties.
- Double-click on Internet Protocol Version 4 (TCP/IPv4).
- Select Use the following IP address and enter these details:
- IP Address: 192.168.10.1
- Subnet Mask: 255.255.255.0
- Leave Default Gateway and DNS blank
- Click OK to save.
3.2. Download and Configure Serva
- After downloading Serva, extract the archive and run serva64.exe as administrator.
- Click on Settings to begin configuration:

TFTP Tab Configuration:
- Check TFTP Server
- Check Bind TFTP to this address and select 192.168.10.1
- Root Directory: Create a new folder (e.g., C:\ServaRoot) and select it

DHCP Tab Configuration:
- Check DHCP Server
- Bind DHCP to 192.168.10.1
- IP Pool start: 192.168.10.2
- Pool size: 10
- Subnet mask: 255.255.255.0
- Leave Router and DNS blank

Click OK to save your settings. Then, and this is crucial, completely close Serva and relaunch it as administrator. This step ensures it automatically creates all necessary folders.
3.3. Add Windows Installation Files
- Navigate to the C:\ServaRoot\WIA_WDS folder (Serva generates this automatically upon restart).
- Inside this folder, create two new subfolders (avoid spaces in the names):
- Windows10
- Windows11
- Mount your Windows 10 and Windows 11 ISO files, then copy all files from each mounted ISO into its respective folder.

3.4. Share the Folder and Create a Network Account
- Right-click the WIA_WDS folder → Properties → Sharing → Advanced Sharing.
- Check the “Share this folder” box and rename the share to “WIA_WDS share”.
- Grant Full Control permissions to “Everyone”.
- Additionally, in the Network and Sharing Center, enable Network Discovery, File and Printer Sharing, and Public Folder Sharing.
- Create a network login account by running the following command in an administrator CMD prompt:


cmd
net user vgoods 12345 /add4. Launch Serva and Verify
Re-open Serva. Wait for it to scan the WIA_WDS folder. Once you see messages like “injected OK” and “created OK” in the Serva log, your server is ready. It’s critical to keep Serva running throughout the entire installation process.

5. Target Machine (Host B) Installation Steps
- Power down the target machine, ensure the Ethernet cable is securely connected, then power it on and enter the BIOS/UEFI settings.
- Enable UEFI Network Stack and PXE Boot. (Note: The exact location varies by manufacturer. On Dell systems, it’s often found under System Configuration → Integrated NIC).
- Save your BIOS settings and exit. Press F12 (or your computer’s designated hotkey) to access the Boot Menu, then select Onboard NIC IPv4.
- The Serva boot menu should now appear. Choose the Windows 10 or Windows 11 version you wish to install.
- When prompted, enter the network credentials you created earlier:
- Username: vgoods
- Password: 12345
- From this point onward, the installation process is identical to a standard USB-based install. Simply select your disk, create partitions, and enter your product key as usual.


During the installation, all necessary files are transferred directly from Host A via the Ethernet cable, ensuring stable and significantly faster speeds compared to a wireless network connection.
6. Wrapping Up
This Serva + Ethernet cable installation method is an absolute game-changer, perfectly solving those frustrating scenarios where a USB drive isn’t available. Once you’ve got it configured, you can even store both Windows 10 and Windows 11 installation files, allowing you to choose your desired OS just like a multi-boot USB drive.
Key Advantages:
- No USB drive required
- Supports multiple OS selections
- Stable and rapid installation process
Important Considerations:
- The two computers must be directly connected via an Ethernet cable.
- Serva must remain running throughout the installation.
- PXE/Network Boot must be enabled in the target machine’s BIOS/UEFI.
Frequently Asked Questions (FAQ)
Q1: The target machine can’t find the boot menu after Serva starts. What should I do?
A: Double-check that the server’s static IP is correctly configured, Serva is running as administrator, the Ethernet cable is properly connected, and PXE IPv4 boot is enabled in the target machine’s BIOS/UEFI settings.
Q2: Can I install only Windows 11 and skip placing the Windows 10 files?
A: Absolutely! You can place just one OS folder in the WIA_WDS directory, and Serva will automatically detect it.
Q3: I’m getting a “network credentials error” during installation. How can I fix this?
A: Ensure the username is ‘vgoods’ and the password is ‘12345’ (or whatever you set), and verify that the WIA_WDS folder is correctly shared with “Everyone” with full control permissions.