
Looking to run a clean, lightweight Windows 11 IoT Enterprise LTSC instance on ESXi, only to get stuck at the hardware compatibility check? Or perhaps you managed to install it, but you’re being strong-armed into using a Microsoft account, or your RDP connection just won’t cooperate?
This article is your comprehensive, no-nonsense troubleshooting guide to a perfect deployment. We cover the root causes of common errors and provide instant fixes. You’ll find download links and activation methods at the end.
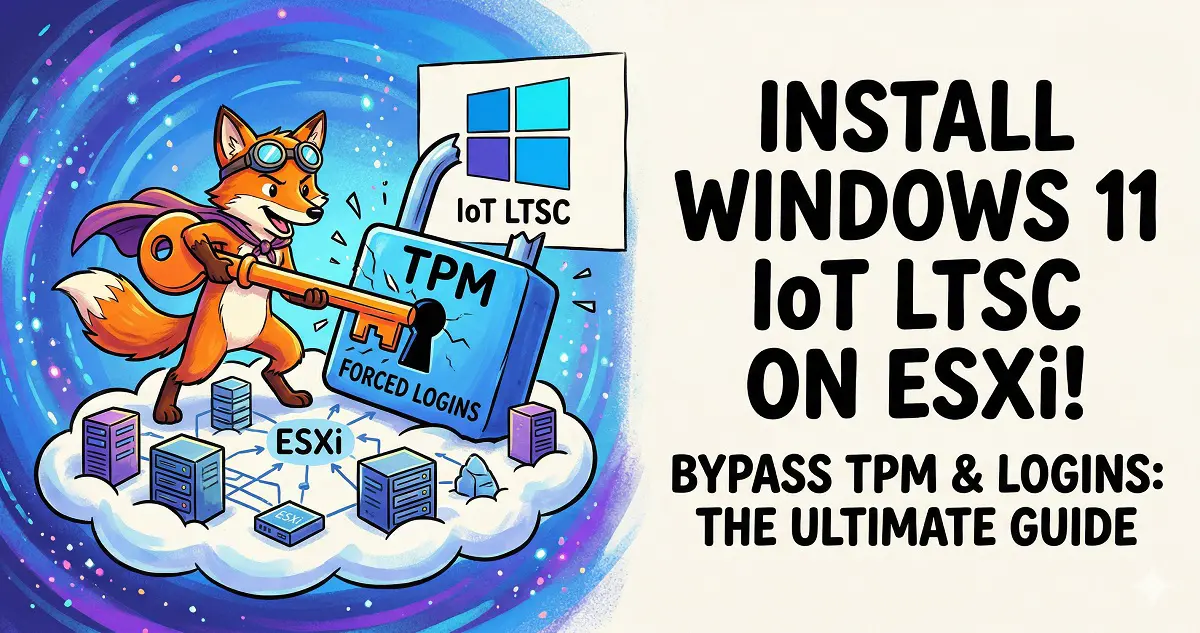
1. Bypassing the “This PC can’t run Windows 11” Error
Since ESXi virtual machines don’t include a hardware TPM 2.0 by default, Windows 11 setup will throw a tantrum. Don’t waste time fiddling with complex encryption keys in ESXi; editing the registry is the fastest way to get around this.
When to do this: Once the VM boots into the initial language selection screen, stop. Do not click “Next” yet.
- Open Command Prompt: Press
Shift+F10on your keyboard to launch the CMD window. - Launch Registry Editor: Type
regeditand hit Enter. - Navigate to:
HKEY_LOCAL_MACHINE\SYSTEM\Setup. - Create Key: Right-click
Setup-> New -> Key, and name itLabConfig. - Create Values: Inside
LabConfig, right-click -> New -> DWORD (32-bit) Value. Create the following three values and set them all to1:BypassTPMCheckBypassSecureBootCheckBypassRAMCheck(Prevents errors if allocating less than 4GB of RAM)
- Continue Installation: Close the registry and CMD window. You can now proceed by clicking “Next” -> “Install Now” without being blocked.
Note: If you’ve already moved past the first screen, restart the installation. It is critical to perform these steps at the very first screen before initiating the setup.
2. Getting Past the “Work or School Account” Forced Login
The IoT LTSC edition sometimes hides the “I don’t have internet” option, forcing you to connect to a network.
- Launch Command Prompt: At the login screen, press
Shift+F10. - Run Bypass Command: Type
OOBE\BYPASSNRO(ensure you use the backslash) and press Enter. - Physically Disconnect: The system will restart. While it’s rebooting, go to your ESXi dashboard, edit the VM settings, and uncheck the “Connected” box for your Network Adapter.
- Create Local Account: Once it boots back up, click “I don’t have internet connection” -> “Continue with limited setup” to create your local admin account.
- Reconnect: Once you reach the desktop and install your VMware Tools, go back to ESXi and re-enable the network adapter.
3. Troubleshooting RDP Connection Issues
The Symptom: The VM is pingable, and Remote Desktop is enabled in the system settings, but you still get a “Remote Desktop cannot connect to the computer” error.
The Cause: Because you installed while disconnected, Windows defaulted the network profile to “Public,” which causes the Windows Firewall to block port 3389.
The Quick Fix:
- Open Settings -> Network & internet.
- Click on Ethernet at the top.
- Change “Network profile type” from Public to Private.
- Try connecting again—it should work immediately.
Note: If you connect but get a “Password Incorrect” error, it’s likely because Windows denies remote logins for empty passwords. Set a password for your user, or use the syntax
.\Username(e.g.,.\Admin) when logging in.
4. Warning! “No more space available for virtual disk”
If you see the following error in ESXi while installing software, do not click Cancel, or you will cut power to the VM and likely corrupt your data.
“No more space available for virtual disk /vmfs/volumes/…/win11-ai_1-000001.vmdk”
Root Cause: The -000001.vmdk suffix indicates your VM is running on a Snapshot. Snapshots are delta disks; as you install software, the delta file grows until it exhausts your ESXi Datastore capacity.
Emergency Recovery:
- Free up Physical Space: Immediately delete unused ISOs or old VMs from your Datastore. Even 1GB can save the VM from crashing.
- Commit/Delete Snapshots (The Permanent Fix):
- Right-click the VM in ESXi -> Snapshots -> Manage snapshots.
- Click “Delete all snapshots” (In VMware, “Delete” effectively merges the snapshot data back into the parent base disk).
- Retry: Once space is cleared and snapshots are merged, click “Retry” on the error dialog.
Lesson learned: Never run heavy software or long-term workloads while a snapshot is active. Snapshots are for short-term backups; delete them as soon as you are done.
Summary
Windows 11 IoT LTSC is arguably the best version for virtualization—no bloatware, no ads, and high stability. Once you handle the TPM bypass, the offline installation, and the network profile, it becomes a rock-solid production tool. Remember to keep an eye on your snapshots to avoid disk exhaustion!
Download Link: https://massgrave.dev/windows_ltsc_links
Activation Command: Use the MAS (Microsoft Activation Scripts) command to activate:
Run PowerShell as Administrator:
# Run MAS activation script
irm https://get.activated.win | iex