
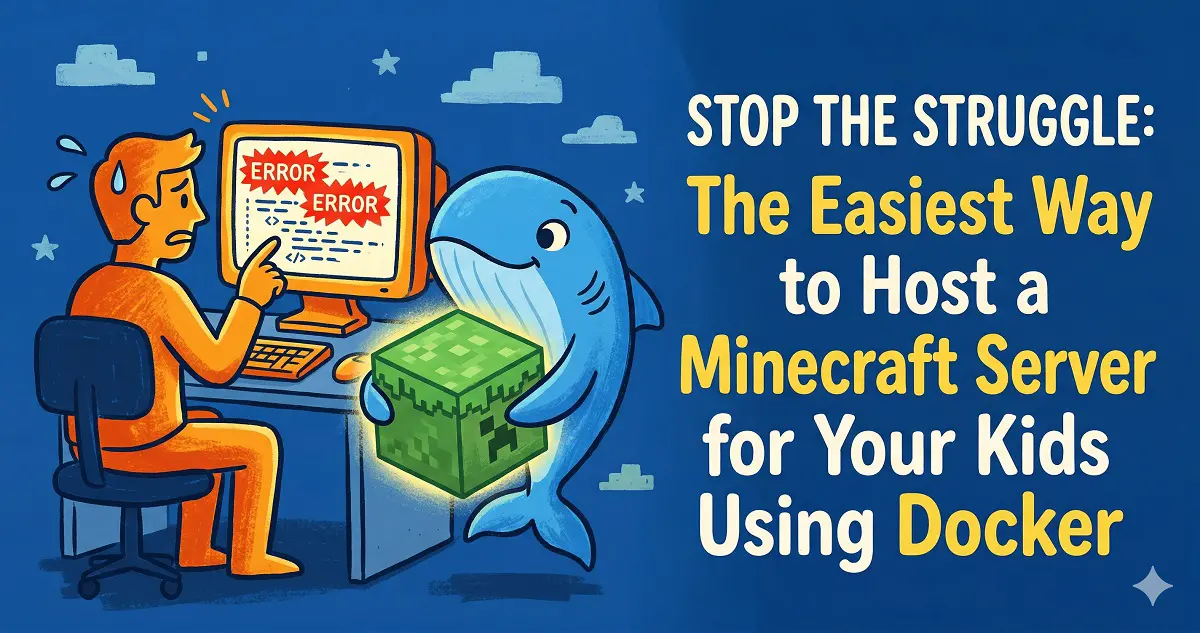
Want to set up a Minecraft server for your kids so they can play safely with friends in a private environment, without worrying about the complexities of public servers? Stop wasting time on clunky server scripts or expensive cloud hosting.
In this guide, I’ll show you how to use Docker along with the itzg/docker-minecraft-server image to build a fully automated, mod-friendly, and rock-solid private home server in under 10 minutes.

Why use itzg/docker-minecraft-server? [GitHub Repository]
There are many ways to host a server, but here is why I recommend this one:
- Versatile: Supports every version (from 1.20+ to legacy versions) and every type (Vanilla/Fabric/Forge).
- Low Maintenance: Automatically handles Java environment configuration and game core downloads.
- Clean: Docker-based isolation means your host system stays clean, and you can delete it with a single command when you’re done.
1. Prerequisites
Before you begin, ensure your hardware (NAS, old PC, or VPS) meets these minimum requirements:
- OS: Docker and Docker Compose must be installed.
- RAM: Allocate at least 4GB to the server (8GB+ recommended).
- Storage: Must use an SSD. HDDs will cause significant world-loading lag that ruins the gameplay experience.
- Network: Works great on a LAN. If friends need to join from their own homes, you will need a public IP address and properly configured Port Forwarding.
2. Deployment Steps
We’ll use docker-compose to manage the server, which makes updates and configuration tweaks incredibly simple.
Step 1: Create a directory
Create a directory on your server, for instance, mc-server.
Step 2: Create the configuration file
Inside that directory, create a docker-compose.yml file with the following content:
version: "3.8"
services:
  mc:
    image: itzg/minecraft-server
    container_name: mc-server
    restart: unless-stopped
    ports:
      - "25565:25565" # Default game port
    environment:
      # Must agree to EULA to start the server
      - EULA=TRUE
      # Game version: LATEST for auto-update, or specify (e.g., 1.20.1)
      - VERSION=LATEST
      # Server type:
      # PAPER (Recommended for optimized vanilla-like play)
      # FABRIC (Recommended for lightweight mods)
      # FORGE (For heavy modpacks)
      - TYPE=PAPER
      # Memory allocation: Reserve 1-2GB for the host OS
      - MEMORY=4G
      # Difficulty: easy, normal, or hard
      - DIFFICULTY=easy
      # Authentication: FALSE allows offline/third-party launchers (like PCL2); TRUE requires official accounts
      - ONLINE_MODE=FALSE
    volumes:
      # Map game data to a local folder for persistence
      - ./data:/data
    deploy:
      resources:
        limits:
          # Limit container RAM usage to prevent host system crashes
memory: 6GStep 3: Start the server
Open your terminal in the directory and run:
docker-compose up -dThe first start will download the image and game files, which may take 3-10 minutes depending on your internet speed.
Step 4: Check status
Use the following command to view the logs:
docker logs -f mc-server3. Recommended Settings for Parents
Default settings might be a bit too unforgiving for kids, so consider these adjustments:
- Enable Keep Inventory: Prevent tears when your child loses their hard-earned items on death. In the console, enter:
gamerule keepInventory true - Set Admin (OP): Grant yourself admin permissions to help them out or change game modes. In the console, enter:
op YourGameID - Whitelist Mechanism: If exposing your server to the public, use a whitelist for security.
- Set
ENABLE_WHITELIST=TRUEin the environment variables and restart. - In the console, type
whitelist add ChildID.
- Set
4. FAQ
- Q: The game feels laggy?
- A: Check if the
MEMORYallocation is too low, ensure you’re using an SSD, and if you’re onTYPE=VANILLA, switch toPAPERfor massive performance gains.
- A: Check if the
- Q: How do I add Mods?
- A: Set
TYPEtoFABRICorFORGEand restart. Place your .jar mod files into thedata/modsfolder and restart again.
- A: Set
- Q: How do I backup?
- A: Just back up the entire
datafolder. Since it’s mounted via Docker, it’s portable and easy to copy.
- A: Just back up the entire