
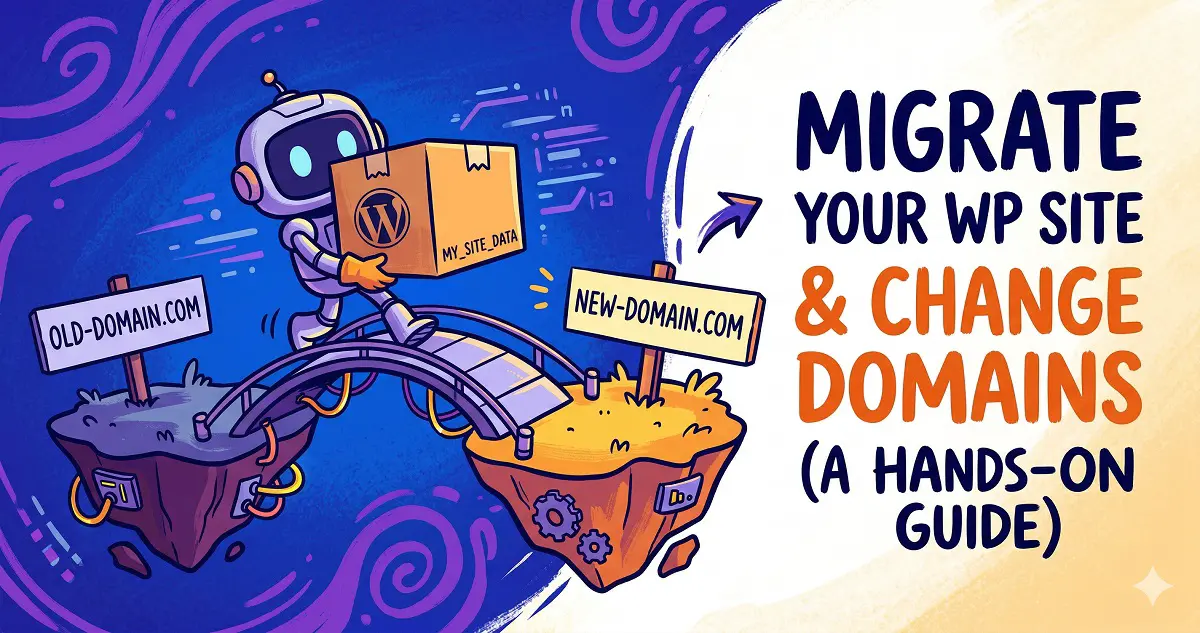
Introduction:
My previous WordPress setup required a specific port number in the URL, which was a huge hassle for users and terrible for SEO. I finally decided it was time to move to a new cloud instance and streamline things.
I’m documenting the migration steps and key tips here to help anyone else looking to make a similar switch. While you can use plugins or built-in import/export tools, I opted for the manual method for better control. Here’s the step-by-step breakdown.
The Process:
1. Back up your site files and database
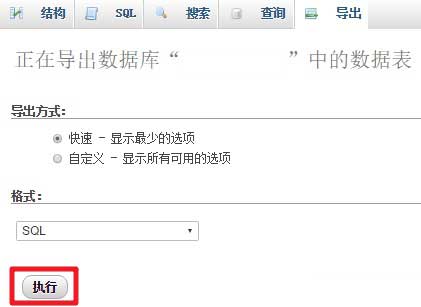
Connect to your original cloud server, archive your entire web root directory, and download it locally. Then, log into your phpMyAdmin dashboard and export your WordPress database as an SQL file.
2. Set up a new database on your target server and import the SQL file you just downloaded.
3. Edit your wp-config.php file to update the database name, username, and password to match your new server’s configuration.
/** Database name */
define('DB_NAME', 'your_db_name');

/** Database username */
define('DB_USER', 'your_db_user');

/** Database password */
define('DB_PASSWORD', 'your_db_password');
Make sure to double-check these credentials; a single typo will prevent your site from connecting.
4. Upload your archived web files to the new server and extract them into the web root directory.
5. Log in to your WordPress admin panel with your new domain. Go to Settings > General and update both the WordPress Address and Site Address to your new URL.
6. If you notice images or links within your posts are broken, it’s likely because they are still pointing to the old domain. You can fix this easily via phpMyAdmin by running the following SQL queries in the SQL tab:
UPDATE wp_options SET option_value = REPLACE(option_value, 'old-domain.com', 'new-domain.com') WHERE option_name = 'home' OR option_name = 'siteurl';

UPDATE wp_posts SET post_content = REPLACE(post_content, 'old-domain.com' , 'new-domain.com');

UPDATE wp_posts SET guid = REPLACE(guid, 'old-domain.com' ,'new-domain.com');
Just remember to swap ‘old-domain.com’ and ‘new-domain.com’ with your actual URLs.
7. That’s it! Your site should now be fully migrated. Perform a quick smoke test across your pages to ensure all links and assets are loading correctly.